


Before DTF T Shirt Printing, gather specialized equipment and prepare design using vector graphics software. Optimize design for dark fabrics and scale to desired shirt size. Use compatible ink and printer to apply heated ink precisely through nozzles. Allow ink to cure, perform quality checks, and ensure perfect alignment for high-quality prints.
Discover the art of DTF (Direct-To-Fabric) T-shirt printing with our comprehensive, step-by-step guide. From gathering the right materials and preparing your design for optimal results, to mastering the application of ink using a DTF machine and ensuring a flawless finish – we’ve got you covered. Learn how to cure the ink properly and conduct a quality check to guarantee a vibrant, long-lasting print. Master this technique and elevate your T-shirt printing game today!
- Gather Materials and Prepare Design
- Apply Ink to T-Shirt Using DTF Machine
- Cure Ink and Quality Check Print
Gather Materials and Prepare Design
Before you begin the DTF T Shirt Printing process, ensure you have all the necessary materials on hand. This includes a DTF printer, which is specifically designed for high-quality direct-to-fabric printing, along with compatible ink and print heads. Gather also dark fabric suitable for DTF printing; lighter fabrics tend to work better with this method as they allow the design to stand out more vividly.
Prepare your design using graphic software that supports vector formatting. This ensures crisp lines and sharp details in the final print. Consider the scale and resolution of your design, making sure it’s optimized for the size of the T-shirt you intend to print on. For DTF printing for dark fabrics, select a design with vibrant colors or consider adding white or light-colored elements to enhance contrast.
Apply Ink to T-Shirt Using DTF Machine
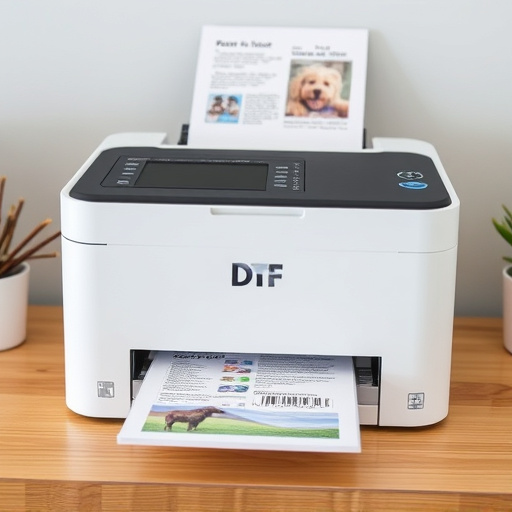
After preparing your design and ensuring it’s ready for printing, it’s time to bring your DTF T-shirt designs to life using a DTF (Direct to Fabric) machine. This process involves applying ink directly onto the fabric of the t-shirt, creating crisp, vibrant prints that will last. The machine heats up the ink to a specific temperature, allowing it to bond with the fabric fibers, resulting in high-quality dtf prints.
Start by feeding the blank t-shirts into the DTF printer, making sure they are aligned correctly. Then, load your design file, ensuring the resolution is optimal for detailed and precise printing. As the machine heats up, carefully apply the ink onto the fabric using the precision nozzles. The process is fast and efficient, especially when conducting bulk dft shirt production, enabling you to create a large quantity of custom T-shirts in less time than traditional printing methods.
Cure Ink and Quality Check Print
After the ink is applied to the DTF transfer sheet using a compatible printer, it’s crucial to allow the ink to cure properly for optimal results in the final DTF T Shirt Printing process. Most inks are heat-cured, requiring a specific temperature and time exposure. Follow manufacturer guidelines for the ideal curing conditions, which often involve heating the sheet for a set duration to ensure the ink binds permanently to the surface. This step is essential as it guarantees vibrant colors that won’t fade after washing.
Once the ink is cured, perform a quality check on the print. Inspect the design for any smudges, missing details, or color inconsistencies. Ensure the custom dtf transfers align perfectly with the t-shirt’s design lines. This thorough check ensures that only high-quality, detailed prints make it to the next stage, guaranteeing customer satisfaction with the final custom t shirts.
DTF T Shirt Printing is a precise, multi-step process that allows for high-quality designs. By gathering the right materials, preparing your design, and using a DTF machine to apply ink, you can achieve excellent results. Ensure proper ink curing and conduct a quality check to guarantee a flawless final print. With these simple steps, you’re well on your way to creating custom T-shirts that stand out in any crowd.